Just looked back and realised that it's a year since I promised my blog readers a tutorial on Viking weave. Well, better late than never! The
shops have been really busy this week, so doing a tutorial is a change which is as good as a rest.

This is the original Viking weave bracelet I made - single knit, which is what I'm going to describe, and quite a fine chain. This was a try out piece made in fine copper tone wire.
I moved on to working with thicker wire for this set. The thicker wire is harder to work, but looks more substantial. When you do the 'magic' bit on wire like this, it is really incredible!
OK, here we go. You will need something round to work on, I'm using a chopstick, but the handle of a wooden spoon, or even a long thick pencil would do. Or you can buy a special tool called a Laizee Daizee if you are feeling flush. You'll also need wire. The smaller the gauge that you start with, the easier it is to work. I'm using 26 gauge (0.4m) wire for this demo. You will also need a drawplate - more on that later.
Step 1: Start by making a flower with some of the wire. This does not have to be neat or perfect, it's not even part of the finished design. Wrap the wire around your fingers 4 or 5 times and use the loose end to wrap around the middle. The number of petals on your flower determines the density of the knit - more will give a tighter knit. I find 4 or 5 is good.
Step 2: Squash the flower onto the top of the spoon or chopstick, so that the petals are quite evenly distributed around the circumference.
Step 3: Take a length of wire as long as you can comfortably work with. Joining in new wire is not a problem, so don't worry about using a long length - when you get used to the pattern, you'll probably find you can use a longer length. Make a loop around two of the flower petals as shown, as if you are going to sew them together.
Step 4: Move round to the next petal and make a similar loop which joins the second petal to the third and makes the same loop pattern in the wire as you started with. You will have a loop under the flower now - don't pull this tight, just leave it to rest.
Step 5: Keep going round the petals in this way until you get back to the start. At this point, make the same loop but around the base of the first loop that you formed to join the petals. You are aiming to make a row of these loops underneath each other. Now you just keep going....
Step 6: The great thing is, you don't have to be neat. Look what a messy sausage I've been this length - twirling around all over the place. The messier it is, the greater fun you'll have with the drawplate which will turn it into a tidy, organised chain. Honestly, no kidding!
Step 7: Don't panic when you come to the end of the length of wire. Simply take your new length of wire and make the first loop over the top of the last loop you made. Keep the two ends of wire lying together underneath your stiches. I twist the wires together for extra security and trim them. Keep working round with your new wire and eventually you will cover the twisted wires. The beauty of the knit is that the end of wire will be inside the finished links, so they won't be visible. I've seen some tutorials where people have used a crimp to keep the two wires together - I think this is more visible, but might be for you if you need extra security.
Step 8: Keep going until you have enough. How do you know when you have enough? Well, you need to bear in mind that you are going to be stretching the weave through the drawplate and it will get considerably longer when you do that. There is a way to calculate the length you need to knit:
length of finished chain required (inches)
_________________________ = x (number of inches of knit needed)
1.4 inches
so if you want an 18 inch chain for a necklace
18
___ = 12.8 inches
1.4
You will need to make about 12 or 13 inches. It's a rough calculation that will vary depending on how much drawplate work you do. If you make too little, you might get away with more use of the drawplate, but you will end up with a finer diameter of chain. If you make too much, you can simply snip the chain. The loop formation means you can do this without it unravelling. Again, the Viking knit takes quite a time, but is versatile.
So, you're nearly there and at the fun bit. Get your drawplate ready. You are going to convert your messy wire into something interesting...
I leave the flower on the top of the weave 'sausage' as it's a useful cone shape to push through the drawplate.
Step 9: Put the weave 'sausage' into the first hole it will fit in comfortably in your drawplate. There are lots of lovely drawplates around, some beautifully made in wood, I'm using my plastic BeadSmith one. Pull the chain sausage through the hole twice. It won't look much different, but might feel a little smoother round the edges. Go to the next smallest hole and do the same - two draws through the hole. It gets a bit more difficult as you work down the hole sizes, but each time the sausage gets a little narrower and tidies up a bit. The loops arrange themselves in perfect rows, and it starts to look like a very complicated and densely woven length of chain. You can pull through with the pliers on the flower on the top of the sausage when it gets to the smaller holes, as you are going to snip this flower off in a moment.

Step 10: Stop when your chain is at the diameter you want. The only other thing to do is to run it through your fingers along the chain a little bit to loosen it up, as it has acquired a bit of tension (as we all do from time to time!) from the drawing. Snip off the flower at the top. You have ends which can be finished in whatever way you want - the bottom end will have whatever length of wire you finished with and this can be used to link through the loops and pull together to make a neat end. You can do the same at the top - use a piece of wire to collect up the loop and pull them together into a cone shape. This can be wire wrapped, or fed into a finding - however you want to finish it.
I went to the last hole on the drawplate to make this a very fine chain. Here's another using slightly thicker wire (24 gauge, 0.5mm) where I stopped drawing on a larger diameter hole, and used a double knit.
How do you do a double knit? You can form your loop differently (into the row above the last one) - I found that difficult - or, as I did, simply use a double strand of wire each time. If you fold a long piece of wire in two, when you come to join in the next piece, you will have a bend in the wire instead of two loose ends, which is an advantage too as it's tidier to hide.
It looks a bit like chainmaille, doesn't it, or a neat cable knit?
Phew, hope that's clear! It's one of those things that sound complicated when you are describing it, but once you start doing it, you realise it's quite straightforward. If you really want to impress your friends, don't forget to tell them you are doing trichinopoly, a skill which probably dates back to the 9th century AD. That may or may not be a conversation-stopper!
Happy weaving/knitting!
Here's the
link to what other crafty people have been doing this week.
Alison

.JPG)


.jpg)
.jpg)
swirls+.jpg)
swirls+.jpg)
swirls+.jpg)


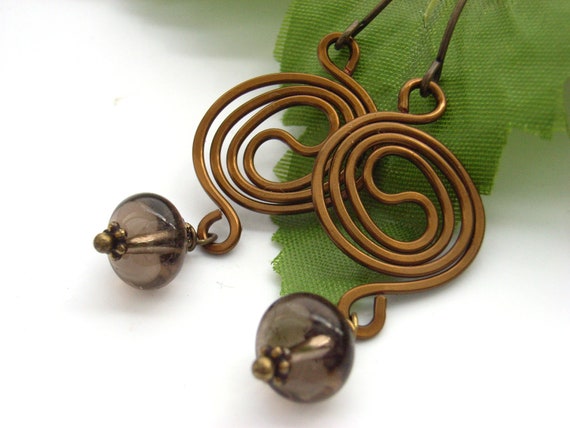


 Wire coiled gizmo bracelet
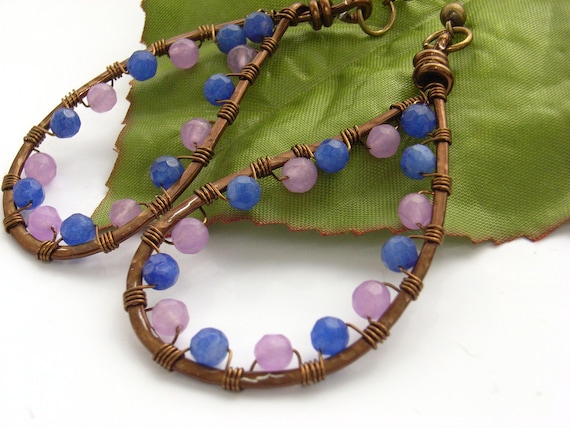
 Coiled wire earrings
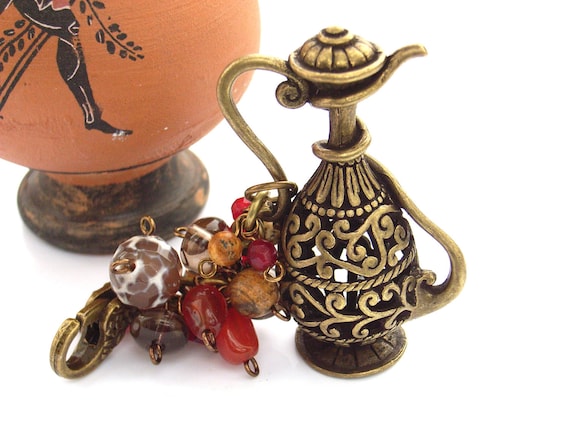
 Ancient world bag charm
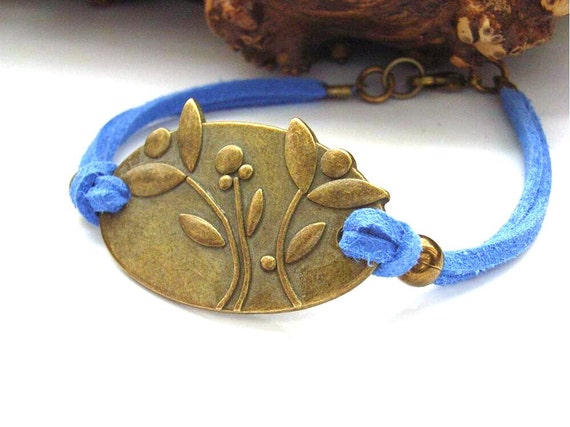
 Love knot bracelet
 Flower necklace