This week I've been busy with an article for a magazine (watch this space for further details!) and a couple of sales, and today I'm in a
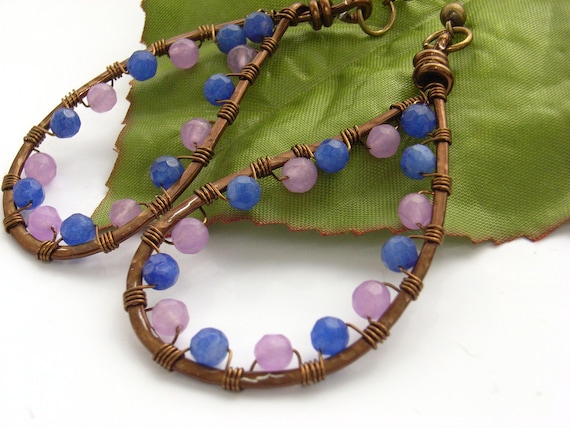
competition. But I managed to fit in finishing a necklace and earring set using hammered and woven wire. I've always found it tricky to get fine wire secured when starting off - this design solves that problem by having the links hammered first so that the thick wire is flattened which really makes it so much easier.
Here's a tutorial if you want to try it - a very straight forward if fiddly technique.
You'll need:
Thick wire - I've used 1m (18 gauge) here
Thinner wrapping wire - 0.4m (24 gauge) here
Pearls
Chasing hammer and block
Chain nose pliers
Step 1: Make the connector shapes in wire and hammer. If you're making earrings, make sure you make and hammer two at the same time so they are identical and a mirror image of each other.
Be careful hammering the coloured and coated wires. Try to tap them gently with the hammer covering the surface as evenly as possible. More taps are better than a couple of hard knocks - you're less likely to scratch the coating.
If you have curves on your designs as I have here, you may need to readjust them after hammering. Be careful using the pliers on hammered wire as the wire has been work hardened, but this means it is also more brittle.

Step 2: Get your thinner wire ready for the weaving. You can work off the spool here to minimise wastage. I've threaded on enough of the pearls for both earrings.
Look at the state of my steel block! Really must give it a clean. But like all tools, it seems to work better in the 'used' state ;-)That's my excuse for slovenly home economics anyway!
Step 3: Start to weave with the fine wire. Leave a reasonable tail. The more the thick wire connector has been hammered, the easier it is to make the thin wire stay in place. Decide how many coils you want between each bead, but you may need to do a couple more for security at the beginning and end anyway.
Step 4: When you're ready for it, move the first bead or pearl up and gently manipulate the wire so that it's laying in the correct orientation. Continue the weave after the pearl in the same way
Step 5: Continue. If you want to be really neat, make sure that you always keep the same pattern around the pearl. So if the wire was coiled in front of the connector before the pearl, coil it back in front of the connector for the first coil after the pearl.
Step 6: When you're finishing off, make the same number of coils as at the top and snip your wire. Neaten the ends of the coiling wire with the chain nose pliers so that the ends are tucked in at the back of the component.
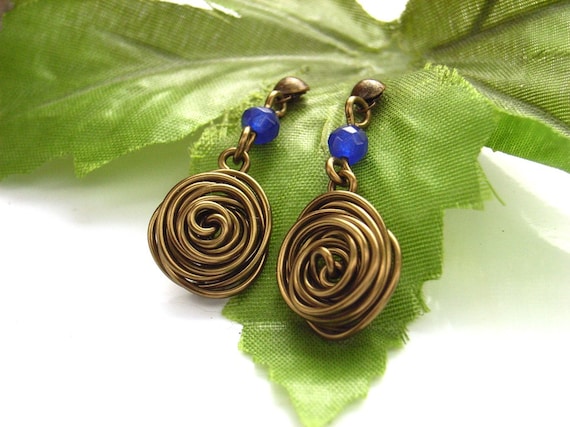
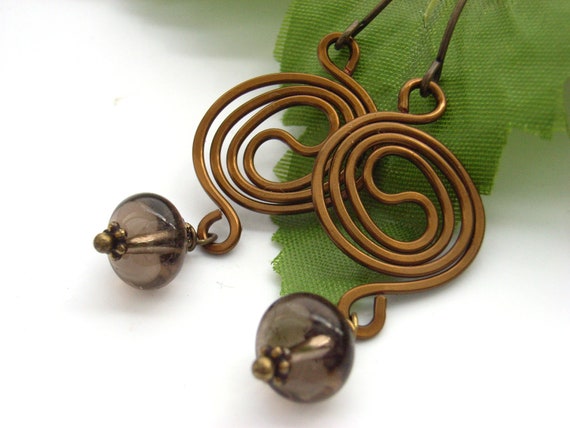
There's one done. Here are the finished earrings and necklace. Can't quite decide which earrings I like best. Some of the lovely folks on the
Jewellery Maker facebook page helped me with designs, so they should get the credit for them really!
 |
| Earrings 1 |
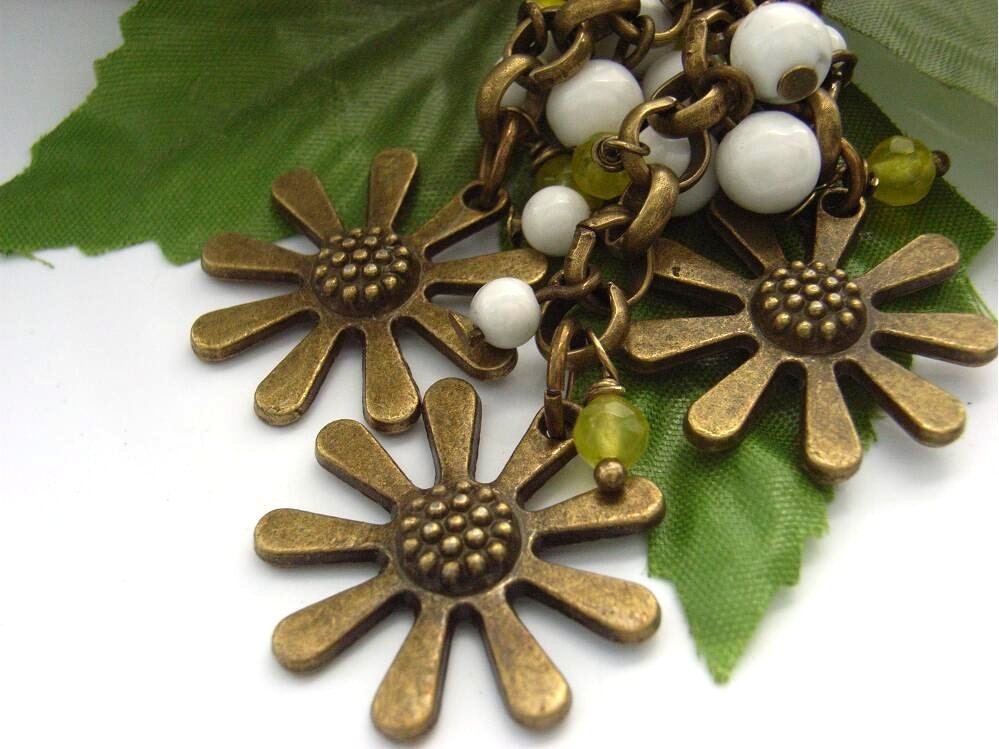
 |
| Earrings 2 |
|
So which do you prefer?
Here's the
link to see what others have been doing this week


 You will need:


